Animation has a universal charm—most of us have grown up watching Disney films, cartoons, or anime, captivated by their imaginative worlds and extraordinary characters. Animation grabs attention because it brings to life scenes and creatures that we rarely see in reality.
For anyone curious about the art of animation, this article introduces frame-by-frame animation—one of the most fundamental animation techniques. We’ll define it, explore its history, and break down its main types.
What is Frame by Frame Animation?
Frame-by-frame animation is a technique where every frame is individually created, with small changes made to the characters, objects, or background in each frame. This method is perfect for complex animations where each frame presents a slightly different image rather than just moving elements across the scene.
While incredibly powerful, frame-by-frame animation can result in larger file sizes compared to tweened animation, where the software generates the frames between key points automatically.
Many classic animation techniques are still relevant today. Modern software has certainly sped up the process, but frame-by-frame animation remains a cornerstone of the industry, especially for intricate or highly detailed sequences.
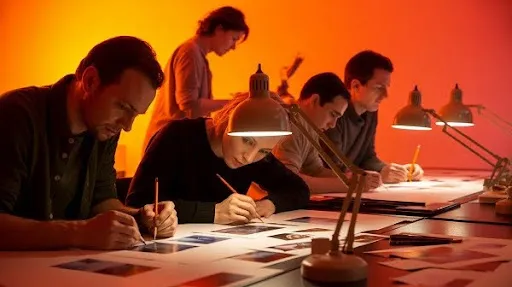
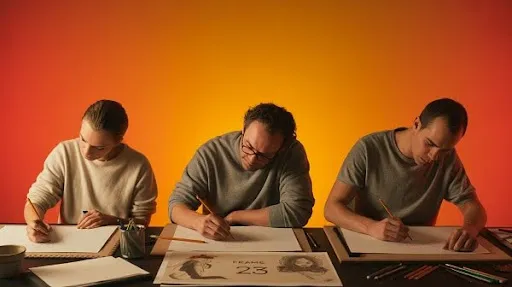
Traditionally, animators would hand-draw every element—characters, props, and backgrounds—on paper. Each frame would then be photographed. Even if a character or object moved only slightly, the entire frame often needed to be redrawn. This meticulous process is the foundation of modern Cel animation services, which continue to bring classic hand-drawn techniques into professional animation today.
Once the sequence was complete, animators had hundreds or even thousands of drawings. Played in rapid succession, these drawings created fluid motion.
This method is time-consuming. Animating just a few seconds could take months, and longer sequences could take years, requiring significant budgets and dedicated teams of artists.
Types of Frame-By-Frame Animation
Over time, animators have developed several approaches to make frame-by-frame animation more effective. Here are the four main types:
Hand-Drawn Animation
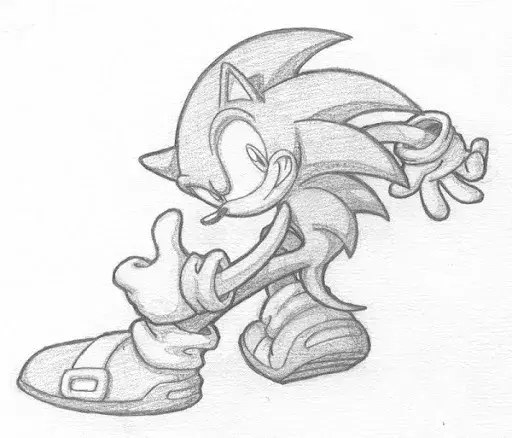
Hand-drawn animation is the traditional style of frame-by-frame animation. Each frame is carefully drawn on paper and then transferred to transparent celluloid sheets, known as cels. Artists use multiple cels for characters and objects, which are then layered over a background and photographed frame by frame.
The process requires not only artistic talent but also patience. After drawing, the frames need to be composed into a sequence. Mistakes are costly—any error means redrawing the frame from scratch.
Despite being labor-intensive, hand-drawn animation has a timeless appeal, with a charm and fluidity that modern digital techniques often try to emulate.
Flipbook Animation
Flipbook animation is one of the simplest and oldest forms of hand-drawn frame-by-frame animation. You might remember doodling stick figures or funny faces in the corner of your notebook as a kid, flipping the pages quickly to make them move.
In flipbook animation, each sketch is drawn on a separate page in a notebook or drawing book. Once the pages are compiled and flipped in sequence, they create the illusion of motion. While considered a traditional technique, flipbook animation still inspires creativity among modern animators and is sometimes used for unique, artistic projects.
Rotoscope Animation
Rotoscoping, developed by Max Fleischer, involves tracing over live-action footage frame by frame. Originally, the sequence was projected onto a glass panel, and animators would manually trace each movement.
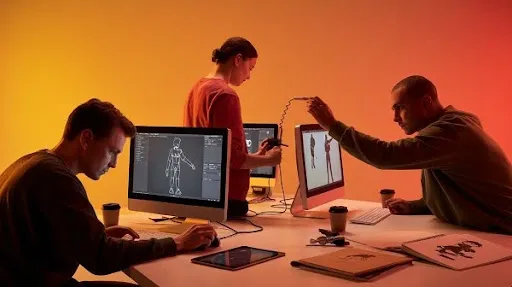
Today, the process is largely digital. Live-action footage can be imported into animation software and traced using tablets or stylus devices. Motion capture technology has also advanced rotoscoping, allowing real-life movements to be captured directly into digital programs.
Rotoscoping is highly valued for its ability to create smooth, realistic character movements. Modern software like Boris FX’s Silhouette, used in Academy Award-winning films such as Top Gun: Maverick, Black Panther: Wakanda Forever, and Dune, continues to push the boundaries of this animation style.
Stop Motion Animation
Stop-motion animation, also known as stop-frame animation, is another frame-by-frame technique. Instead of drawing each frame, animators photograph objects, moving them slightly between shots. When played in sequence, the still images create the illusion of motion.
The more frames you capture, the smoother the movement appears. Stop-motion projects often involve hundreds or even thousands of images. This style has evolved into various subtypes, including:
- Object Animation: Animating inanimate objects. A notable example is the Oscar-nominated short Fresh Guacamole by PES.
- Lego/Action Figures: Popular on platforms like YouTube, this style animates toys like Legos or action figures.
- Claymation: Uses clay figures for animation. Famous examples include Pingu, Coraline, and The Nightmare Before Christmas.
- Puppet Animation: Puppets with interchangeable facial features are used to convey expressions. Corpse Bride is a well-known example.
- Cutouts: Characters are created from cardboard or paper, moved frame by frame. South Park originally used this style.
- Silhouette: Similar to cutouts, but only the characters’ silhouettes are visible.
- Pixilation: Real actors are photographed in small, incremental movements. This technique appears in music videos and commercials, such as Amazon Kindle ads.
While stop-motion doesn’t produce the same natural look as rotoscoping, it remains widely used in films, commercials, and creative projects for its unique, tactile charm.
Modern Animation Techniques
Technological advancements have introduced new animation techniques that complement traditional styles and make the animation process more efficient. These methods include tweening, rigging, and onion skinning:
- Tweening: The animator draws the keyframes, and the frames in between (the “in-betweens”) are completed either manually or automatically using software. Modern animation tools can generate these in-between frames digitally, saving time while allowing for further refinement.
- Rigging: This involves creating a digital skeleton or structure for a character. Animators attach the character to this rig, giving them precise control over movements and making complex animations easier to manage.
- Onion Skinning: This technique allows animators to see multiple frames at once—the previous and next frames—so they can maintain consistency and fluidity in character movement.
These modern techniques, combined with traditional animation methods, empower animators to produce smoother, faster, and more complex animations than ever before.
Pros and Cons of Frame-by-Frame Animation
Frame-by-frame animation has its unique charm and challenges. Let’s take a closer look at the advantages and disadvantages.
Pros:
The Visual Appeal
Frame-by-frame animation has a distinctive look that’s hard to replicate with other techniques. Its smooth, flowing movement gives a classic, almost analog feel that draws viewers in and makes animated movies and shows visually captivating.
Creative Freedom
This technique allows you complete artistic freedom. You can design characters exactly as you envision them, experiment with different animation styles, and apply diverse drawing techniques. Every frame can be customized, enabling detailed expressions, movements, and imaginative scenarios that bring your ideas to life.
Cons:
Time-Intensive Process
The biggest challenge of frame-by-frame animation is the time it demands. Creating thousands of frames is labor-intensive, requiring both mental focus and physical endurance. Tight deadlines can make this process especially stressful, and there’s little room for errors.
Higher Production Costs
Because the process is so involved, production costs are naturally higher. You may need cameras for stop-motion, materials for puppets, paper, acetates, or a computer with animation software. All of these factors contribute to a more expensive project compared to other animation methods.
How to Create Frame-by-Frame Animation
Here’s a clear guide to starting your first frame-by-frame animation project.
The Initial Preparations
-
Set Goals
Start by defining your target audience. Are you creating content for YouTube, a short animated film, or client projects? Knowing your audience will shape your animation style, pacing, and overall approach.
-
Choose the Animation Type
Decide which type of frame-by-frame animation you want to create. Options include hand-drawn animation, rotoscoping, stop motion, or flipbooks. Selecting the right method early will help streamline your workflow.
-
Script and Storyboard
Create a script and sketch your storyboard. This defines the sequence of events and helps you remember key movements or expressions. For complex actions—like playing a musical instrument or sports moves—research video references to ensure realistic motion.
Animation Begins
-
Sketch and Draw
Start creating your frames. You can stick with traditional hand-drawing or use a tablet and digital software. Digital tools can speed up the process and make corrections easier.
-
Animation Software
Popular software options include Blender, Maya, Photoshop, Adobe Animate, and After Effects. These programs provide powerful tools for drawing, timing, and adding effects, suitable for beginners and experienced animators alike.
-
Start Simple
If this is your first animation, begin with basic movements. Learn the software tools and gradually move to more complex sequences.
Step-by-Step Guide to Basic Animation in Animate
-
Step 1: Create a New Document
Start a new document in Animate. The timeline panel will appear under the stage, with a default layer and empty keyframe ready for your first drawing.
-
Step 2: Organize Layers
Use multiple layers for different elements of your animation. Rename layers for easy identification. Add layers by clicking the plus button above the layer panel, then select the layer you want to draw on.
-
Step 3: Start Drawing
Draw using the brush tools or import existing graphics. Each keyframe represents a new frame in your animation. Move to the next keyframe and make the changes needed for movement, creating fluid motion across frames.
-
Step 4: Play the Sequence
Preview your animation by playing the sequence. This allows you to see the motion and timing in action. Once comfortable, explore more advanced tools in Animate to refine and enhance your project.
Final Words
Now you have a clear understanding of what frame-by-frame animation is and the different types of this classic technique. If you’re eager to start creating animations, you already have the essential knowledge to kick off a project from scratch. While the animation process itself can be challenging, today’s wide range of animation software makes it much more approachable.
You can begin with a simple drawing program, sketch each frame, and then play the sequence to see your animation come to life. If you feel passionate about pursuing animation, consider investing in the right tools and equipment to enhance your workflow.
Wishing you the best of luck on your animation journey!
FAQ
Is frame-by-frame animation expensive?
It can be. Frame-by-frame animation often requires specialized software, subscriptions, and materials, and it can take a significant amount of time to produce even a few seconds of animation.
Related Articles:

