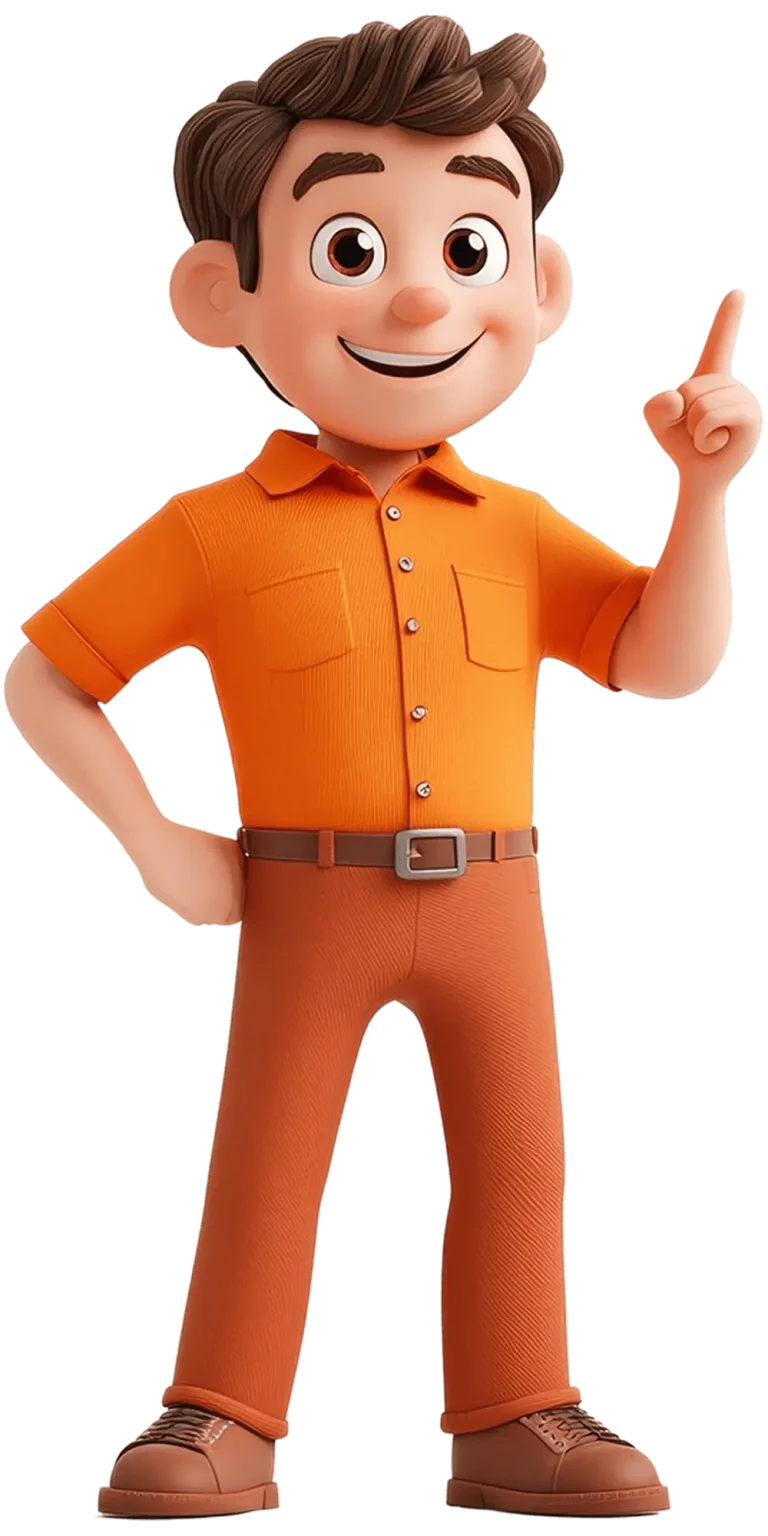
Some individuals consider 3D animation daunting. It seems too intricate, costly, and only possible in large studios. The truth is—by 2025, you do not require a Hollywood crew to create a captivating 3D animation video.
The truth is, 3D animation services are now used for everything. The need is only set to rise. It is now used for explainer videos and marketing, as well as for large-scale business walkthroughs and movies. The shift from an ancillary service to a principal aspect of content has been gradual.
But here’s the kicker—just because you have the software doesn’t mean you know how to make a 3D animation video. There’s a systematic approach to it. Imagination, a well-thought-out business plan, and technical skill are required.
If executed perfectly, your business will be elevated, and you will be able to share captivating stories that transcend time.
Fact: According to one report, the 3D animation market will rise from a value of more than USD 40 billion in 2025 to a whopping USD 139+ billion by 2033.
This guide is your blueprint for how to make 3D animation in 2025—even if you’re just starting out.
Step 1: Lock Down Your Vision
In this case, you need a well-defined plan. Before you engage any professional, clearly outline your vision. Work from the envision aspect to the create part, and ask yourself these questions:
- What’s the purpose of the animation?
- Who’s your target viewer?
- What’s the key message or emotion you want to deliver?
- Do you want it to be realistic or stylized?
The answers to these questions streamline everything from the scripting and the software to be used and the personnel to be engaged.
Step 2: Decide If You’re Doing It Yourself or Hiring Help
Here’s a moment of honesty. Expect a learning curve when figuring out how to make 3D videos for the first time. Blender, Cinema 4D, and Autodesk Maya are powerful, and while they offer great capabilities, they come with a steep learning curve.
So, you’ve got two options:
- DIY: Great for learning, prototyping, or if you have budget limitations. But it’s time-consuming.
- Professional Studio: Works best when you want high quality, need it urgently, or don’t have enough time to do it yourself.
Studios like Prolific Studio make it easier by managing the heavy lifting. You focus on your story and goals—they handle the rest.
Step 3: Write the Script (Don’t Skip This)
It may be tempting to jump straight to crafting the visuals, but a well put-together script is equally as important. Even the shiniest and most jaw-dropping 3D animations wouldn’t put any ‘wow’ to your audience without a proper script.
Here’s what makes a good animation script:
- Short sentences.
- Simple language.
- Conversational tone.
- Clear progression from intro to close.
Pro tip: Speak your script out loud. If it feels clunky or too long, your audience will feel it too.
Step 4: Build a Storyboard That Maps It All Out
Transform your script into visuals. A storyboard is going to help you map your scenes out as well as help you build each section of the animation in 3D.
Relax and take a deep breath if art is not your forte. Stick figures, simple sketches, and even storyboard templates will do. A roadmap allows you (or your animation crew) to navigate through the animation creation.
A comic strip approximation of the animation is a helpful way to think about it. It provides a frame-by-frame account of instruction detailing choreography of the characters’ movements and camera work, transition sequencing, and everything in between.
Step 5: Get the Voiceover Right
Voiceovers set the timing of your entire animation. Get this step done early so your animation team isn’t left guessing when building scenes.
You can:
- Hire professionals from platforms like Voices.com or Fiverr.
- Record in-house with a decent mic and software like Audacity or Adobe Audition.
If a certain accent, age group, or gender is pertinent to your video, make sure to factor it in as you plan. While voiceover is one of the most overlooked elements in animation, it greatly impacts viewer engagement.
And don’t forget about music. A background score can elevate the mood and make your animation stick in people’s heads.
Step 6: Start Modeling Your World
Now, let’s get a little more in-depth. 3D models have to be crafted, and this means 3D characters as well as other 3D items, backgrounds, and even lights to be placed in the scenes.
Modeling software lets you “sculpt” these elements digitally. Depending on the complexity, this part can take days or weeks.
What’s involved:
- Mesh Modeling – Creating the base shape of your object.
- Texturing – Adding surface details like skin, clothing, metal, etc.
- Rigging – Adding a virtual skeleton so characters can move.
- Skinning – Making sure the rig controls the model smoothly.
Models may be made from scratch, but there are other alternatives, like completed models in marketplaces. Many 3D artists blend premade and custom models, to varying degrees depending on the quality.
Step 7: Animate with Intention
With models ready, it’s time to make them move.
Animation combines motion with the expression of feelings. A character’s blink, head tilt, or pause can convey more meaning than speech.
Types of animation techniques:
- Keyframing – Set specific positions at specific times.
- Motion Capture (MoCap) – Record real human movement to drive characters.
- Physics Simulation – Use real-world physics for things like gravity, cloth, or hair.
All of this is possible with Blender and Maya, but your work is only as good as the polish you bring to the precision of the animations. In this case, your work is the result of paying attention to details.
Step 8: Add Light Like a Director
Lighting changes everything. It adds depth, mood, and realism. Even the most beautiful model will look off with flat lighting.
Your job here is to think like a cinematographer. Where does the light come from? Is it harsh or soft? Warm or cool?
You’ll want to experiment with:
- Key lights for the main illumination.
- Fill lights to soften shadows.
- Backlights to separate the subject from the background.
In 3D animation, lighting isn’t just aesthetic—it’s functional. It directs attention and helps scenes feel grounded.
Step 9: Time to Render
Animation rendering is for the video’s animation. It is also the phase where video frames are produced from animations created using the 3D models created scenes, which include textures, lights, and other elements.
This process is resource-heavy. A single second of animation can take hours to render, depending on the quality and resolution.
Make sure:
- Your models are optimized.
- You’re using the right render engine (Cycles, Arnold, Redshift, etc.)
- You budget enough time.
Many studios have to render longer videos because they use stream rendering.
Step 10: Final Edits in Post-Production
Once you’ve rendered your scenes, you move into editing.
Post-production includes:
- Adding final voiceover sync.
- Inserting music and sound effects.
- Making color corrections.
- Adding titles or motion graphics overlays.
Editing tools like Adobe Premiere Pro, DaVinci Resolve, or After Effects can help with this part.
When everything is stitched together and polished, your 3D animation video is ready to launch.
How Much Time Does It Take to Make a 3D Animation Video?
This is one of the first questions clients ask — and for good reason. Animation feels like magic, but it runs on hours. Lots of them.
The work you are asked to do will depend on the complexity and the duration of the project. A 3-minute-long product demo will take more work than a 30-second explainer video. A full short film will require a lot more effort. But let’s break it down with average estimates:
Estimated Timeline for a 60-Second 3D Animation Video
- Scriptwriting: 4–7 days
- Storyboard: 5–7 days
- Voiceover & Music: 3–5 days
- Modeling & Texturing: 1–2 weeks
- Rigging & Animation: 1–2 weeks
- Lighting & Rendering: 5–10 days
- Post-production & Revisions: 3–7 days
It is around 4 to 6 weeks, assuming things don’t go sideways. While there is a possibility of rush jobs, they will either increase the price or lower the quality. Plan accordingly.
How Much Does It Cost to Create a 3D Animation Video?
Let’s talk numbers.
Just like time, costs vary depending on your approach and the video’s complexity. Doing it yourself comes with software and hardware expenses. Hiring professionals adds talent and service fees, but can save you months of frustration and trial-and-error.
If You’re Doing It Yourself:
- Software: Free (Blender) to $1,200/year (Maya, Cinema 4D)
- Voiceover: $50–$500 per project
- Music Licensing: $10–$300
- Asset Packs / Models: $30–$500, depending on needs
- Rendering Costs (Cloud): $100–$1,000+, depending on length/quality
If You Hire a Studio:
- Entry-level 3D animation video (30–60 sec): $1,500–$3,000
- Standard quality explainer or product video: $3,000–$10,000
- High-end animation with custom models and VFX: $10,000–$100,000+
At Prolific Studio, we customize based on need, not cookie-cutter templates. That way, clients don’t overpay for work they don’t need or settle for visuals that underdeliver.
Tools You Can Use to Create 3D Animation Videos
The best option does not exist. What best suits your skill, budget, and objectives is what matters.
Here are some go-to platforms depending on your needs:
For Beginners:
- Blender – Blender is free and open-source software that includes everything you will need from rendering to modeling. The learning curve is steep, and Blender has a massive supporting community to help you get started.
- Vyond (for simple animated videos) – Great for basic explainer videos, but not designed for full 3D modeling.
For Intermediate to Advanced Creators:
- Cinema 4D – Clean UI and great for motion graphics.
- Autodesk Maya – Industry standard for character animation, but expensive.
- 3ds Max – Great for architectural and product visualization.
- Houdini – Amazing for VFX and simulations, not beginner-friendly.
Blender is free and available, which makes it the easiest for beginners to learn how to create 3D animations with no investment.
How to Create a 3D Animation Video with a Studio Like Prolific Studio
Want to spend less time at the wheel? Creative studios exist to make the complex and stressful tasks organized and easy.
Here’s how working with Prolific Studio typically goes:
1. Creative Brief
You fill out a form (or jump on a call) to share your vision, goals, tone, and target audience.
2. Scriptwriting
Our writers turn your goals into a compelling narrative. You’ll get a draft to review and refine before we move forward.
3. Storyboard Creation
We map out the entire video scene-by-scene so you can see the direction visually before production starts.
4. Voiceover Casting
We share a few hand-picked options based on your brand tone and target market. You choose your favorite.
5. Modeling & Design
Our artists create custom 3D models based on the approved storyboard and concept references.
6. Animation
Everything starts moving—from character actions to camera movement. Timing is matched with the voiceover and background track.
7. Lighting, Effects, Rendering
We add atmosphere, polish, and style. Then render everything into final frames.
8. Editing & Delivery
Final edits, sound balancing, and post-production cleanup. Once approved, you receive your full high-res animation video in multiple formats.
Common Mistakes to Avoid When Making a 3D Animation Video
3D animation is fun, but it’s easy to get off track. Here’s what we see most often:
1. Skipping the Planning Phase
Going straight to design without a script or storyboard is like building a house with no blueprint.
2. Underestimating Time & Budget
If you’re trying to make a 3D animated video, remember: every detail adds production time. Don’t squeeze timelines unrealistically.
3. Overloading the Scene
Too many elements = clutter. Keep scenes focused so the audience knows where to look.
4. Ignoring Audio Quality
A great animation with poor voiceover or music is like a gourmet meal with a plastic fork.
5. Using Stock Assets Without Matching Styles
Mixing cartoony characters with realistic environments? It looks awkward. Stay consistent.
Frequently Asked Questions
How long does it take to make a 3D animation video?
Adding 4 to 8 weeks of expected time for the animations to refine complexity, resources, and edits.
Is it better to use free tools like Blender or paid ones like Maya?
Without a doubt, Blender is widely used and serves a powerful purpose. While paid tools do offer better support and a smoother workflow, we need to pay for them.
How to make 3D animations without experience?
Only for a limited time. The learning curve is steep, but many people do turn to different learning methods. We start with guides and polish the end product by hiring professionals.
How to make a 3D animated movie without looking like an amateur?
Strong storytelling, good design, smart pacing, and well-set lighting. For those who are in doubt, go with reliable studios for the little details.
What file format will my final 3D animation come in?
Most studios export in MP4, MOV, and AVI. Based on your needs, they can export image sequences frame by frame or even export 4K versions.
How to make an animated video at a low cost?
Start with a short video. Reuse existing assets if you have them. And don’t waste time on scenes that don’t add to your story. A good studio will also help you prioritize your budget.
Final Word
Now you are ready to answer the question of how to create a 3D animation video that looks simple, mastering 3D modeling and formulating videos to decorate frames. Creating a seamless animation for effortless movement.
That’s what we do every day at Prolific Studio, one of the best animation studios in Toronto.
We can assist you with anything, from a product demonstration, a brand story, to a curated animated short film. You can zero in on your objectives and let us take care of the rest. Everything will be animation that is clean and polished with zero fluff or convoluted language.
Let’s build something memorable. Reach out today for a custom quote and let’s turn your vision into movement.
Related Articles:

